Cate Blanchett, Mélanie Thierry, Louise Bourgoin ... many stars have adopted it during their appearances on the red carpet. This natural look is inviting more and more in our bathrooms. It is also necessary to do it again at home, because to achieve a nude look is no small matter. There are steps to follow, and you have to choose the right products to achieve a natural and good-looking effect. To help you reproduce it, Marieclaire.fr made an appointment with Rodgers, a make-up artist at Clarins, who showed us how to make a light and brilliant make-up step by step.
Step 1: Prepare face before make-up
Prepare the face to receive make-up by removing make-up entirely with a water or make-up removing milk for sensitive skin. Once cleansed, moisturize the face and apply a decongestant gel to the eyes, in order to defatigate and erase the pockets. Finish by moisturizing the lips with a balm.
Step 2: Work the complexion
Mix a hazelnut of complexion to your foundation, then apply it to the makeup brush. The beautifier is used to return the light and give radiance to the complexion and the foundation to cover the imperfections and to unify the skin. We finish with a concealer, which is applied in the angle of the eye and under the eye. It is important to put some, even if there are no dark circles, to clear the imperfections and to better draw the eye.
Step 3: Give a good look
After unifying the complexion and giving it radiance, it is necessary to bring relief to the face and to give it good looks. To do this you must combine the terracotta with the blush. Apply very lightly the terracotta with a flat brush on the advanced parts of the face (the places most likely to take a sunburn in summer): the nose, forehead, chin and upper cheekbones. Then give freshness to the face by applying the blush, always with a flat brush, on the cheekbones, from the eye to the ear. Tip to better apply his blush: smile slightly to make appear the volume of the cheekbones. Finally, use a round brush to melt the blush and the terracotta.
Step 4: Redraw the eyebrow
We are now working on eye makeup, starting with the eyebrows that we brush only. This is sufficient when the eyebrows are sufficiently drawn. Otherwise they will be worked with a pencil of the same color and a brush.
Step 5: Correct the eyelids
Before beginning the eye makeup, the imperfections of the eyelids (sometimes marbled) are corrected with an eye make-up foundation. A kind of cream with a powdered finish that will also fix the make-up that will be placed on it. It is applied with a brush.
Step 6: Make up the mobile eyelid
Apply a light beige, without loading too much for the effect to be natural, on the whole of the mobile eyelid. Then apply a dark brown pencil to the level of the eyelash. It allows the dark brown that is then placed (of the same color as the pencil) to adhere better. Place it in the same place as the dark brown pencil line.
Step 7: Illuminate the look
To have a bright look, apply a golden beige on the inner corner of the eye, at the level of the eyelash. The encounter between the light inside the eye and the dark outside will shape the look and give it intensity.
Step 8: Work on the look finish
To perfect the look and give it more depth, you sometimes have to cheat. In this case, it is necessary to work the fold of the mobile eyelid, to mark it more with a dark beige make-up to give the illusion of a greater hollow and an eyelid relief more interesting. When applying the dark beige make-up, one remains only on the fold, one does not extend it to the eyebrow, otherwise the effect of depth would be canceled.
Step 9: The end point of nude makeup
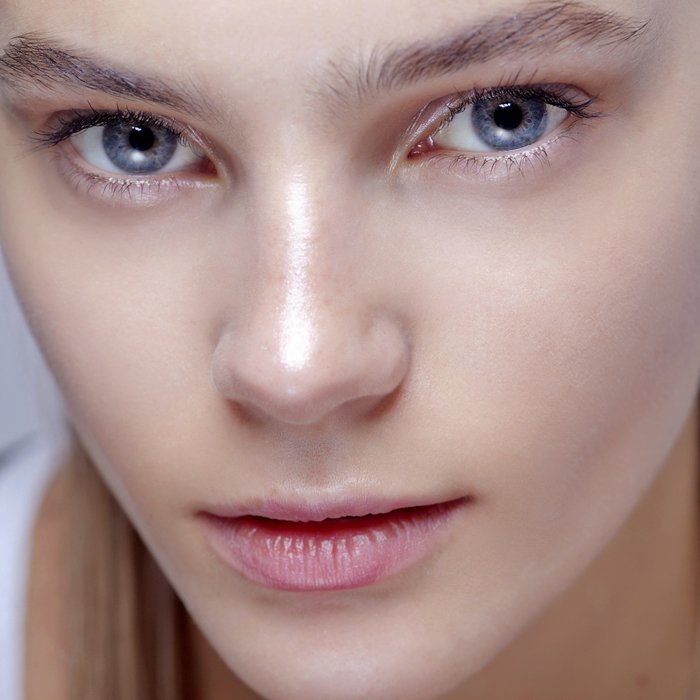
Finish her nude makeup with a light touch of black mascara, based on the lashes. Avoid the tip of the eyelashes for an even more natural look. The whole make-up is light and can hardly be seen. We just notice a good looking good effect.
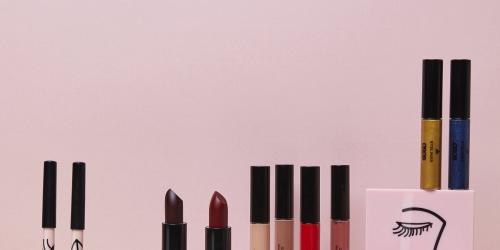
A big thank you to Clarins , the shop of Sevres-Babylon and Rodgers for all his advice.