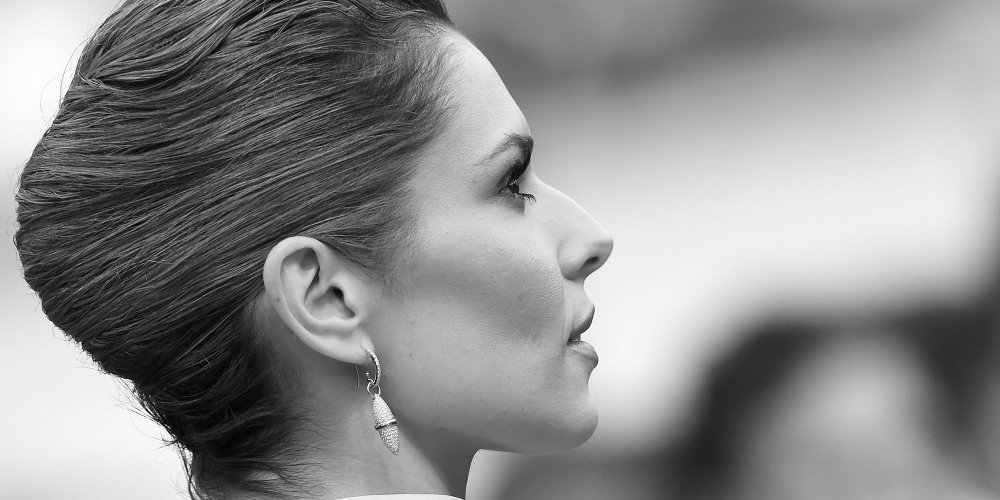
The expert Sébastien Marchand, offers us his instructions for a successful banana bun version rockabilly.
As for any hairstyle a little elaborate, it is better to have washed her hair the day before (especially not the same day), because otherwise our hair too clean "slips" and takes less time. If you have just washed your hair, it is possible to "dirty" the material with a texturizing powder, a dry shampoo , or to crepe the hair to bring volume and a better hold.
Tuto banana bun step by step
- Preparation of the hair
On the top of the head, we draw two straight lines on each side of the forehead so as to isolate a large lock of hair, which is attached with a clip. This wick will be used at the end of the hairstyle to form the shell that completes the banana bun.
Then we bring the rest of the hair back to one side of the head - left for the right-handed, right for the left-handed, for more facilities - and set everything flat with flat kirby clips over the entire length of the skull.
The advice of the pro: we do not hesitate to use several pliers to secure our hair: they will serve as a base for all the bun and will guarantee its behavior.
- Creation of banana
The most complicated step is to give the bun its banana shape. We take the loose part of our hair and wind to form a tight tube, which we will fix at the same level as the first attachment, using bun pins: in one hand , our banana is made.
- Setting up the hull
To finish the hairstyle, we crepe the wick kept on the top of the head - more or less depending on the desired result - to create a shell, that we just fix behind the head on the top of the bun.
The advice of the pro: the more one crepe the hair, the larger the shell will be bulky.


